
Looking for Rebuilding Carburetor on Snow Blower in Denver Metro? Call Us: 720-298-6397 Today! Auger Repairs, Maintenance, Tune-ups and more.
Understanding the Importance of Rebuilding a Carburetor
A carburetor is a crucial component of a snowblower's engine, responsible for mixing air and fuel in the right proportions to facilitate combustion. Over time, carburetors can become clogged or worn out, leading to poor engine performance. Rebuilding a carburetor is a cost-effective way to restore your snowblower's efficiency and ensure smooth operation when winter strikes.
By rebuilding a carburetor, you can breathe new life into your snowblower without the need for a costly replacement. It allows you to take control of the maintenance process and customize the rebuild according to your machine's specific needs. This article will guide you through the step-by-step process, empowering you to successfully rebuild the carburetor on your snowblower.
Before diving into the rebuilding process, gather all the necessary tools and equipment, including a carburetor rebuild kit, a clean work area, and a service manual for your snowblower model. With these essentials prepared, you'll be well on your way to restoring your carburetor's functionality.
Step-by-Step Guide for Rebuilding a Carburetor on a Snowblower
Start by disconnecting the spark plug wire and removing the air filter cover. Next, take off the air filter and clean it thoroughly. Once the air filter is clean, remove the air filter housing to gain access to the carburetor. Pay close attention to how the various components are connected and take pictures if necessary to aid in reassembly.
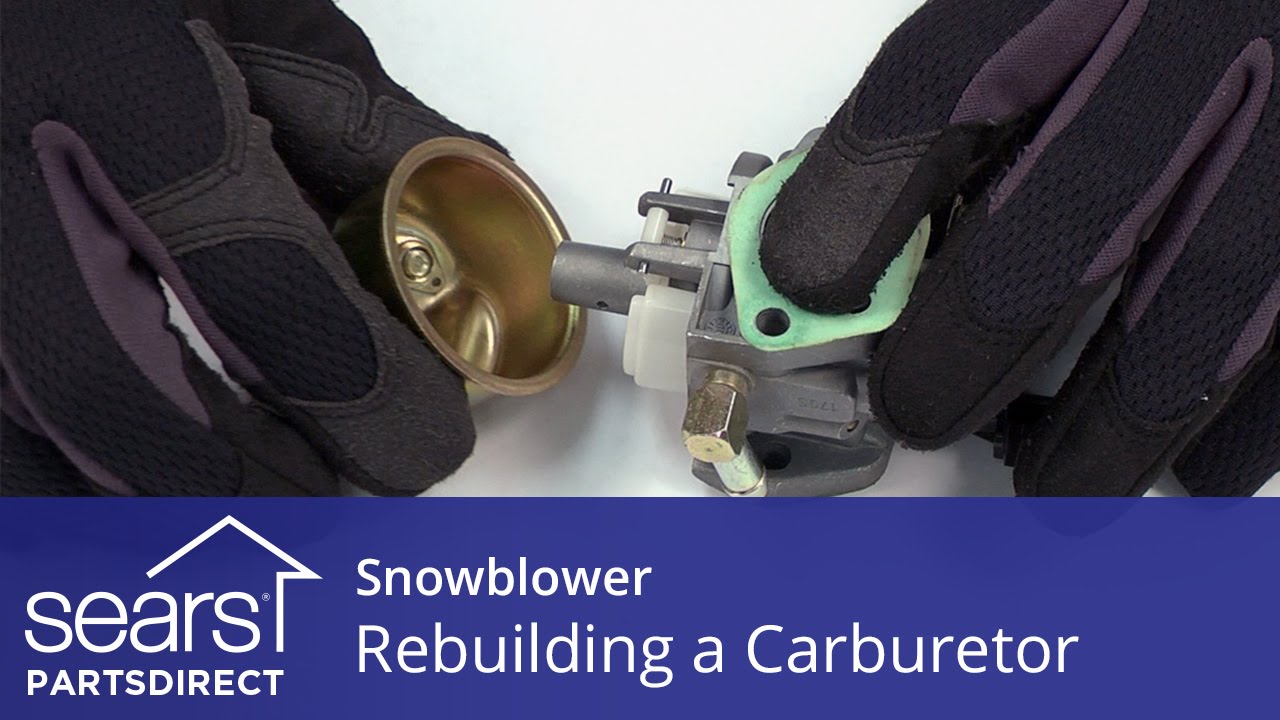
Carefully disassemble the carburetor, taking note of the order in which parts are removed. Soak all metal parts and the carburetor body in a carburetor cleaner for a sufficient amount of time, following the instructions on the cleaning product. While the parts are soaking, use a toothbrush or a small brush to clean any plastic or rubber components.
After cleaning, use compressed air or a can of carburetor cleaner to flush out any remaining debris from the carburetor body and parts. Be sure to clean all tiny holes and passages thoroughly. Once dry, carefully reassemble the carburetor, ensuring all gaskets are properly in place. Use the service manual to guide you through the reassembly process, and take your time to avoid any mistakes.
Fine-Tuning and Testing Your Rebuilt Carburetor
Before installing the rebuilt carburetor, adjust the idle and mixture screws according to the specifications provided in the service manual. This will help optimize the fuel-air mixture and ensure your snowblower runs smoothly. Turn the mixture screw until it is lightly seated and then back it out to the specified number of turns. Follow the same procedure for the idle screw.
Once the adjustments are made, install the carburetor back into the snowblower, reconnect the air filter housing, and tighten all screws securely. Reattach the spark plug wire and fill the fuel tank with fresh gasoline mixed with the appropriate amount of snowblower oil. Prime the engine as recommended by the manufacturer to ensure an easy start.
With everything properly reassembled and adjusted, start your snowblower and let it run for a few minutes to allow the engine to warm up. Observe the engine's performance, ensuring it idles smoothly, accelerates without hesitation, and runs consistently. If needed, make minor adjustments to the idle and mixture screws to fine-tune the carburetor's settings.
Call to Action: Rebuilding a carburetor on a snowblower may initially seem daunting, but with the right knowledge and guidance, it becomes an achievable task that can save you money and prolong the life of your machine. Don't let a poorly functioning carburetor hinder your winter maintenance efforts. Take the necessary steps outlined in this article, get your hands dirty, and enjoy the satisfaction of a job well done. Your snowblower will thank you with reliable performance during the harshest winter conditions.